

I wanted something to fill the space above her changing table. I have seen several really cute tree branch and bird mobiles, so I decided to give one a try. It was surprisingly easy to make, came together well, and helped to bring some color and interest to that part of her room.
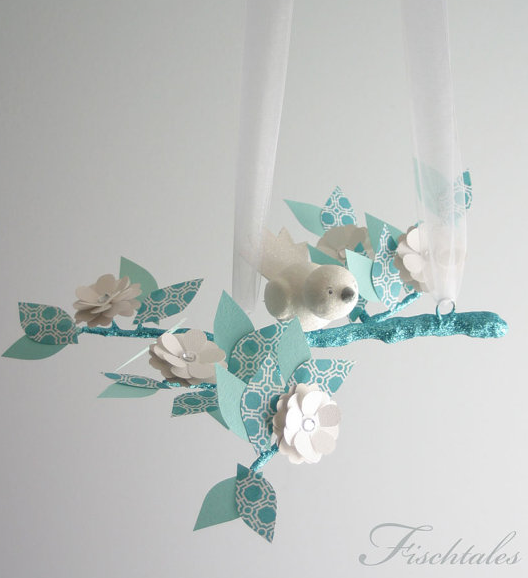
Here are some of the mobiles that inspired me:
 |
| Source |
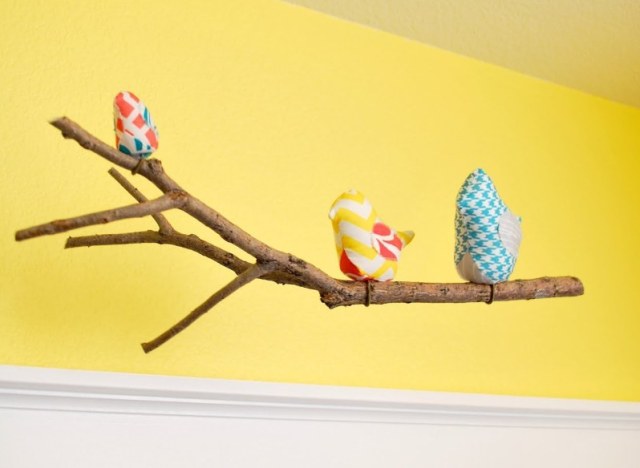
 |
| Source |
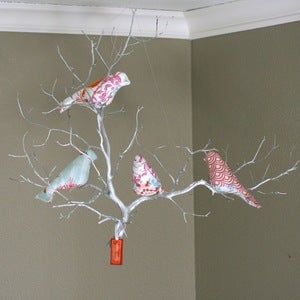
 |
| Source |
 |
| Source |
 |
| Source |
Here is how I did everything:
1. Branch: I started with just a plain old tree branch. (We had a huge windstorm a few months ago, and there were branches strewn everywhere. I wanted it to be long, I think that the one I chose was about 3 feet long. I did trim off some of the smaller branches that were coming off of it, until I got a shape that I liked. I used Modge Podge to clue white strips of paper around the tree for a paper mache type look, but I think that it would have been easier/less messy if I had used spray paint, and I think that I would have liked it just as well.

2. Flowers: I drew a simple flower shape. I ended up using one with 5 petals and one with 6 petals so that I could layer them. Each flower requires two flower cut-outs, which I cut out of patterned scrapbook paper. I then put a dab of hot glue to stick the 5-petal flower onto the 6 petal flower. Then, fold the petals in toward the center and crease slightly so that they stick up a little bit. I used some circle rhinestone stickers that I had for the flower centers, but you could use buttons, or paper circles too.

2. Flowers: I drew a simple flower shape. I ended up using one with 5 petals and one with 6 petals so that I could layer them. Each flower requires two flower cut-outs, which I cut out of patterned scrapbook paper. I then put a dab of hot glue to stick the 5-petal flower onto the 6 petal flower. Then, fold the petals in toward the center and crease slightly so that they stick up a little bit. I used some circle rhinestone stickers that I had for the flower centers, but you could use buttons, or paper circles too.
3. Leaves: I drew a football shape pattern and used it to cut leaves on green cardstock. I wanted some variation in the green, so I used three differed shades of green for the leaves. I then folded then in half lengthwise so that they would look more three-dimensional.
4. I used my trusty hot glue gun to stick the leaves and the flowers to the branch. I tried to arrange the leaves first in small clusters and then put the flowers where I thought they looked good. I didn't really have any rhyme or reason to this part, I just stuck them on however.

5. To hang the mobile I bought some of the small hooks that have thread on one end so that I could screw them in. I used two screw/hooks, drilled small pilot holes in the branch, and strategically placed them behind some leaves so they were hidden. I then used some clear fishing line to hang it from some more hooks in the ceiling.

I haven't been happy with any of my attempts at making a bird yet, but I think that I'll keep trying. I do like it even without a bird, I like how the white stands out against the brown wall, and I like the color that the green leaves bring to that side of Baby Girl's room.
LOVE this mobile, Mandi! Awesome job!!!
ReplyDeleteThanks Laura.
ReplyDeleteprabhat satta
ReplyDeletefinal ank
220 patti
prabhat satta matka
final ank
220 patti
indian matka
kalyan final ank
kurla day